The adrenaline from quilting with Judy carried through to quilting Thursday when Margie came to quilt. The fresh snowfall kept Shaggy home. It felt good to get back on track after the holidays. The snow is sure pretty, and I am glad I didn't have to drive anywhere.
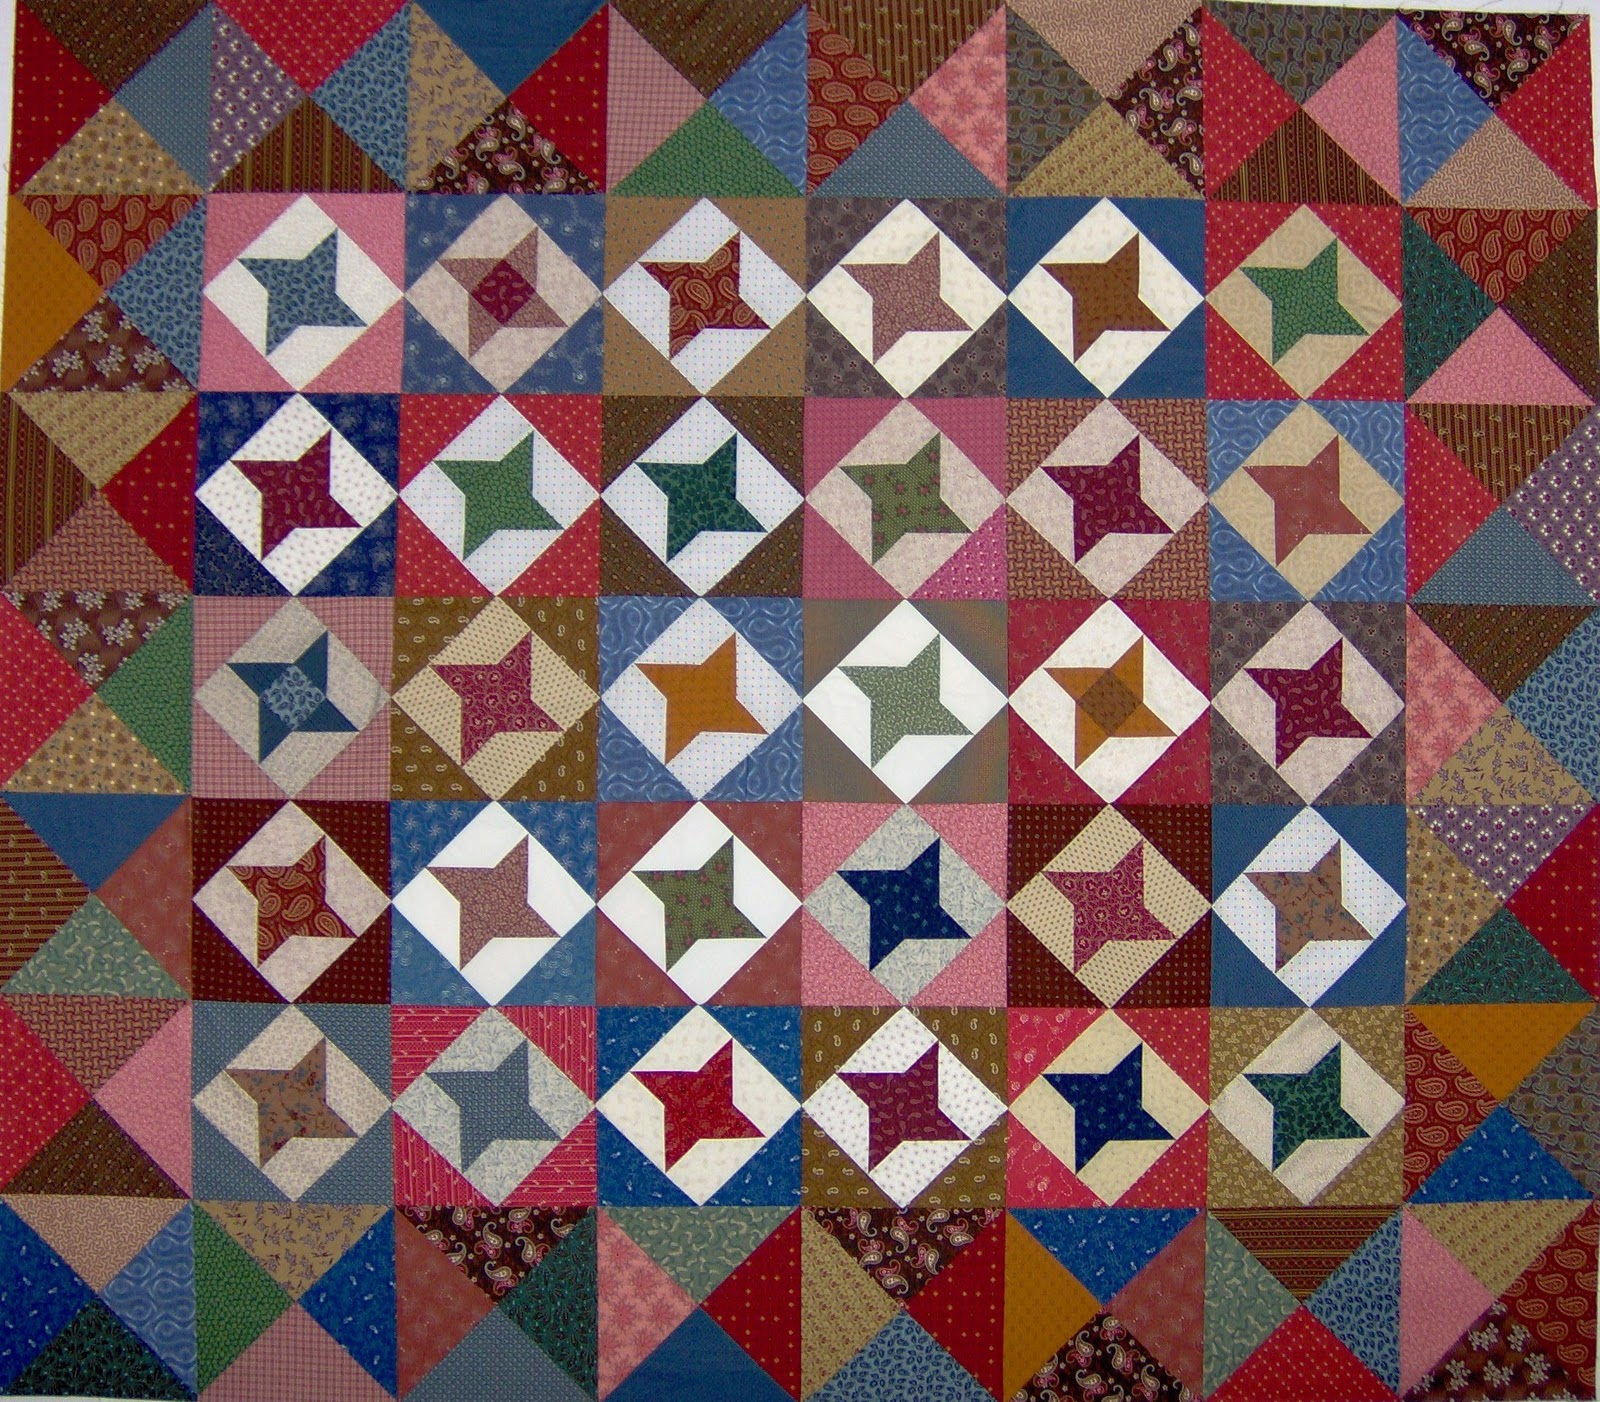
I got the friendship stars together. I remember thinking the last time I worked on it that it wasn't very colorful. It is hard to believe that this border changed it so much. It sure reads "red" now. I don't know that I am thrilled with it, but when I was playing in EQ with the block I had a hard time deciding on a setting. Then when I went back to those files while getting ready to finish it at Judy's, this arrangement struck me the most so I went with it without much more thought. I'm just loving the colors.
In my last post I left to do Lisa's binding. That night I applied it in 2 1/2 hours - start to finish. I always finish my bindings by machine, front and back. Sewing the back down by machine always leaves questions, so here are some photos.
After sewing it all around and joining the ends, and starting at any corner turn the binding to the back, lapping the folded edge over the seam. Pin or hold in place as you place it under the presser foot and lower the needle into the ditch. This step is
only accomplished easily with an open toe foot. Double click photo for closeup. The bobbin thread should match the binding. The top thread can either be the clear nylon stuff (if the binding and border are two different colors) or match the binding and border (if they are the same color). Stitch 2-4 inches in the ditch.
Every several inches, turn the quilt back to check that the binding is folded past the seam before proceeding to stitch it in place.
I cut binding strips 2 1/4" wide, seam them together with a diagonal seam and attach to the quilt top with 1/4" seam. I trim the batting even with the binding, and the binding laps over the back seam about 1/8". If you prefer a wider batting, then the batting needs to be trimmed further from the edge of the quilt to fill the binding.
To finish each corner of binding, I backstitch before reaching the corner, then when I get to the end of the seam, I pivot and stitch the miter with a backstitch too. Maybe you can see the threads ending at the very tip of the corner.
And did I mention the 4 patches I was making for??? It seems sometimes I just gotta sew pieces together if for no other reason than they belong together. Busy week next week. It is Dot's 91st birthday and she has a Dr appt., there is a meeting with the church ladies and at Benny's and with our tax man. And I have to catch up with my bookkeeping. That will leave little time for quilting.


2 comments:
I love how that quilt turned out!
Machine bindings are too scary for me. 4-patches are just my speed right now, though. I have about 100 or so put together for no particular reason. I expect they will turn into a quilt by the end of the year. Here's hoping, anyway.
Post a Comment